Setting Up a Small Home Studio: Signal Chain From Microphone to Monitor
 Cynthia Kuder
Build the chain in one direction and test at each stage, and a small home studio becomes predictable rather than mysterious. Microphone, preamp, converter, monitor and headphones form a single path, and every problem you will meet can be located by working along it once.
Start with the room you have
Choose the largest room you can spare and place the desk so you are not facing a wall at close range. A wall directly in front of you reflects the monitor sound straight back and distorts what you hear.
A room with soft furnishings and an irregular layout beats a bare room of the same size. A rug, a sofa and a bookshelf do more than a set of thin foam panels.
Decide the listening position before buying anything. Everything else in the chain is chosen relative to where your ears will be.
Microphone and placement
A large-diaphragm condenser suits most voices and acoustic instruments. A dynamic microphone suits loud sources and rooms that cannot be treated, because it rejects more of the room.
Distance sets the ratio of direct to reflected sound. Moving from 30 to 15 centimetres raises the direct sound by roughly 6 dB relative to the room, which is a bigger change than most microphone swaps.
Angle matters too. A microphone pointed slightly off-axis reduces sibilance without the loss of presence that equalisation produces.
Preamplifier gain
Set the preamp gain so the loudest passage peaks around minus 12 dBFS. That leaves enough headroom for an unexpected transient without requiring the performer to hold back.
Digital clipping in the preamp cannot be repaired. Recording a little low and raising the level later costs almost nothing; recording too hot costs the take.
Watch the gain structure across the interface. Some units combine the preamp and converter gain in a single control, which makes it easy to overdrive the converter at a setting that looks conservative.
Conversion and latency
Set the buffer as low as the system allows without dropouts. Latency below about 10 milliseconds is comfortable for monitoring through software.
Where latency cannot be reduced, monitor directly through the interface rather than through the computer. Hardware monitoring bypasses the round trip and removes the delay entirely.
Sample rate matters less than stability. Recording at a higher rate costs processing power and disk space and rarely changes the result audibly for a home setup.
Monitors and their placement
Place the monitors on stands at ear height forming an equilateral triangle with your head, with sides around one metre.
Keep them away from the front wall where possible, and keep the distances to the two side walls equal. Asymmetry produces an image that leans, which makes every mix decision unreliable.
Choose a monitor with a front port if the desk forces close placement, because a rear port near a wall produces a strong low-frequency peak.
Headphones as a second reference
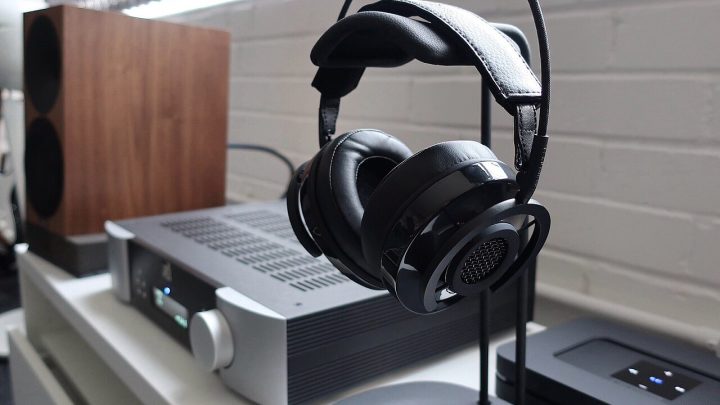
A closed-back headphone is the practical choice for recording, because it does not leak into the microphone. An open-back pair is better for checking detail and for mixing late at night.
Use the headphone as a cross-check rather than as the primary reference. A mix that works on monitors and headphones is more likely to translate elsewhere than one that works on only one of them.
Keep a familiar commercial recording as a reference and switch to it regularly. The ear adapts to a room within minutes, and a reference track resets that adaptation.
Cabling and power
Keep signal cables away from mains leads, and use balanced connections for any run longer than two metres. Balanced cables reject the interference that single-ended cables carry into the preamp.
Connect the interface, the monitors and the computer to a single power strip. Separate outlets increase the chance of a ground loop, which appears as a hum that no amount of cable swapping removes.
Lift nothing from the mains ground. Defeating an earth connection to remove a hum is dangerous and is never the correct fix.
Testing the finished chain
Record thirty seconds of speech, then listen to it on the monitors, on headphones and on a phone speaker. Each playback reveals a different set of problems, and the phone reveals the most.
Then record silence with the same gain and listen to the noise floor. Any hum or whine you can hear at normal monitoring level will be present in the recording.